Friday 17 January 2014

Wild West Exodus

First game, just getting to grips with the rules. Kickstarter was awesome for the amount of stuff you got. Current web pricing is not so hot as they nice toys I would like are about £50 a figure!


The figures are beautiful at about 35mm scale. I have some concern over a few of the resin parts as they may not take handling during gaming well. The plastics are lovely but the figure only go together rin one pose. Materials are easy to work with though should you want to do some conversion, I plan to save my second wave 1 plastic sprue rill I get wave 2 plastic and then do some head swaps.


The game has simple mechanics and there is plenty of scenarios in the back of the book.

Below is a truck lying on its side, this is Craig's heavy support vehicle and should be a lot of fun when it finished. He bought it to use as scenery but the rules for it are quite interesting.


All the terrain seen here is Craig's ad is looking lovely. I have made this folding 4' x 4' board for him and he received it in time for this game. The sand is not yet painted - as wargames we will go to great lengths to paint sand to look like sand!

The game itself should be played on a 6' x 4' at about $1500 ?(this is how you buy your posse). We were playing at $500 and our next game will be $750 which should get more foot troops on the table.

Sunday 15 December 2013

First Play Muskets and Tomahawks

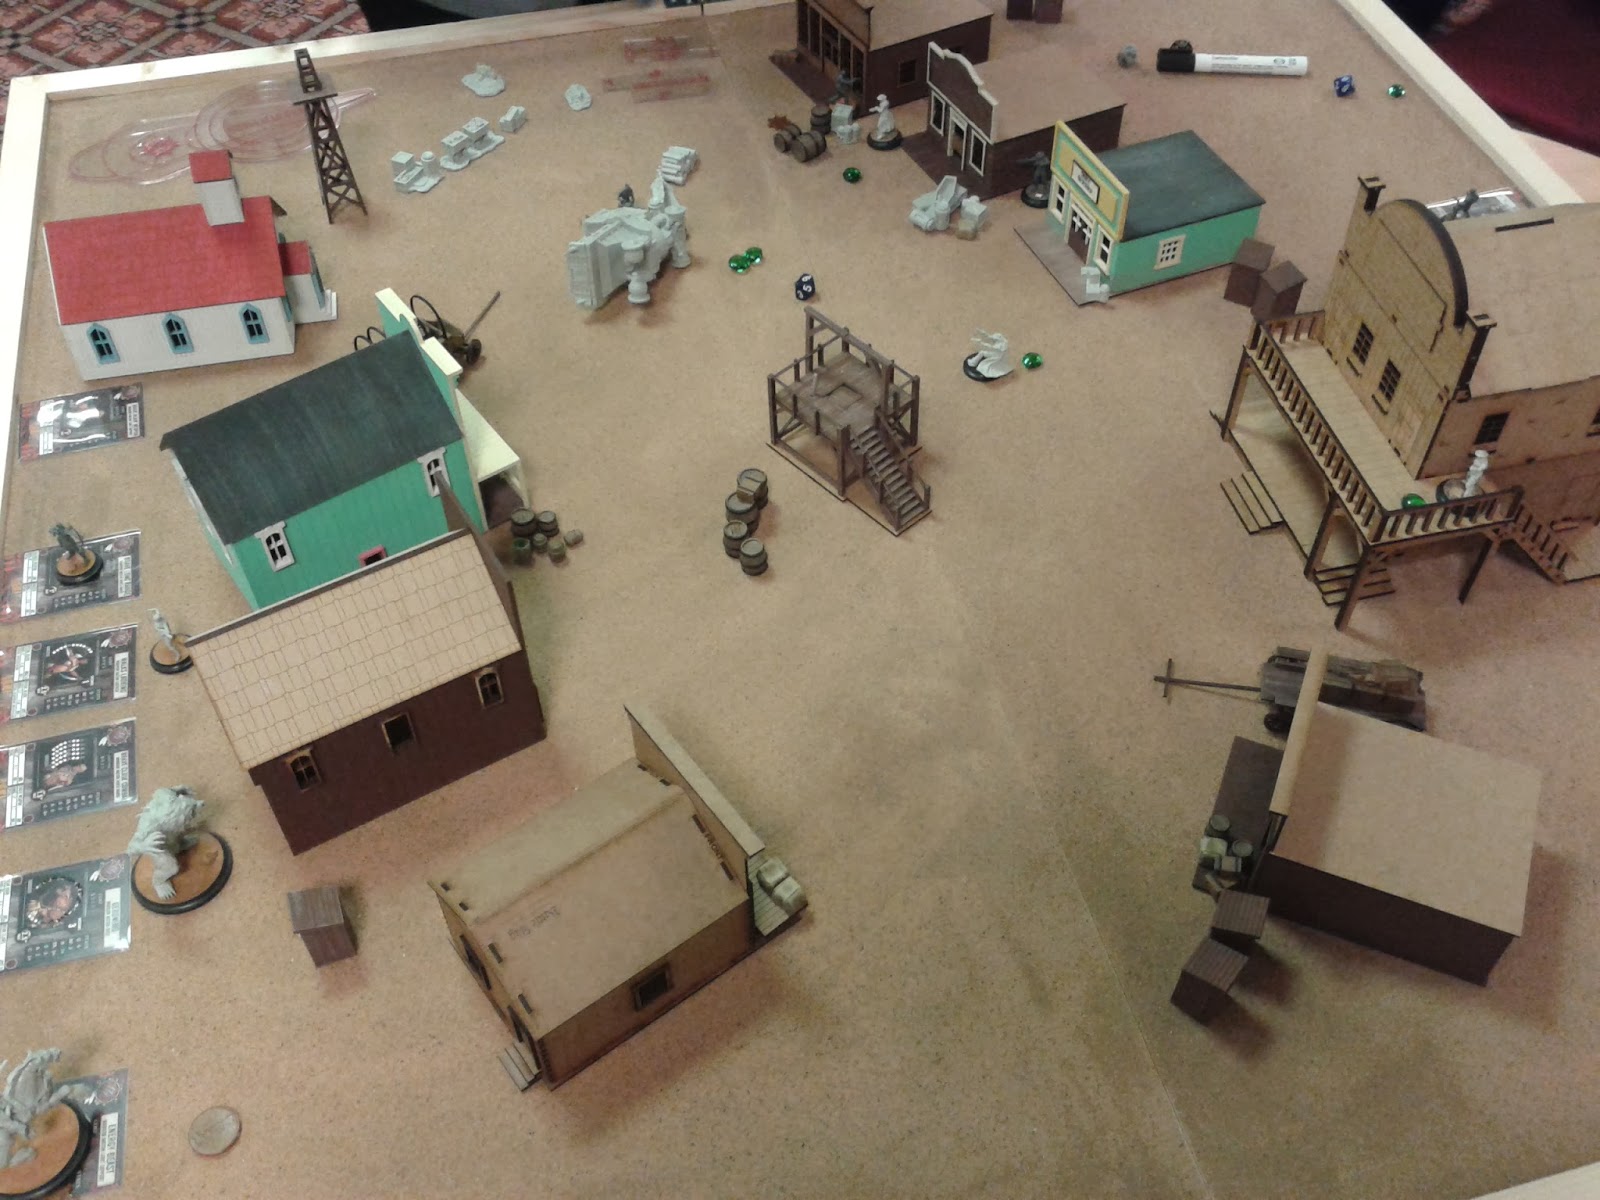
The British are ordered to burn a farmhouse believed to be used as a supply for the French. Thier plan is to send a threatening regular formation to draw out the defenders while some light infantry and allied Indians sneak through the woods.


The French have detecrted the enemy approach and hastily erect a barricade to weather the British fire.


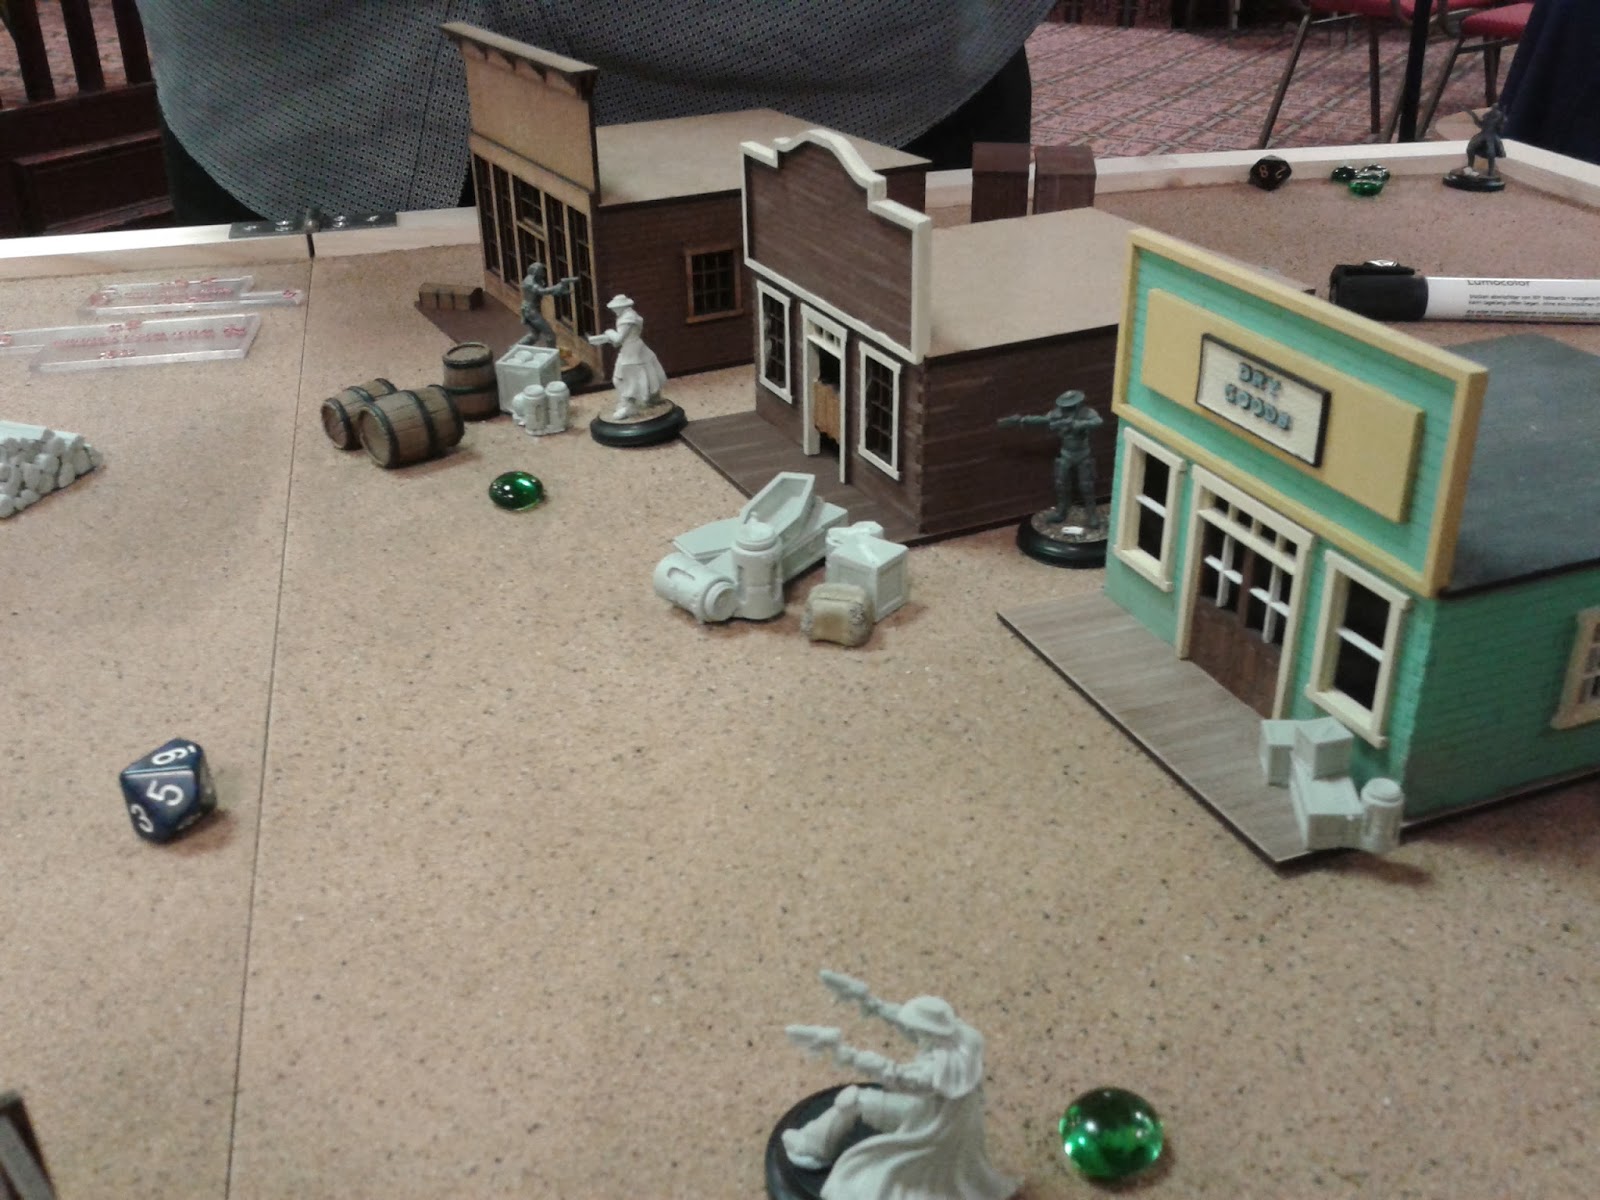
The British Regulars advance  in disciplined ranks.


With an eagle eye they spot the French cowering behind the barricades and unleash a volley, confident in their training they will get reloaded in short order. Returning fire from the French at the barricade reduced the British unit but its morale holds and it keeps advancing.


French allied Indians massacre the oncoming British Light Infantry to a man, thwarting the British sneak attack.


 Accurate British fire drives back the other unit of French Indians as they attempt to move to the flank of the advancing unit. Another advance and shot sees the Indians wiped out. Even with the intervening wall the muskets are lethal with this much incoming fire.


 The French regulars have arrived on the table accompanied with their officer. The militia defending the barricade step aside to allow a swift charge into the British Regulars who have just reached the barricade.


The combat is both swift and bloody, shocked at the ferocity of the British the French Regulars flee form the melee and after receiving a volley from the now flanking British unit disperse form the battle.


Seeing the fall of thier regular unit and a distinc decline in French numbers the remaining militia and Indians also disperse from the battlefield leaving the area under British control.


Thanks to Kevin Tingle for providing most of the scenery, all of the figures and the rules! I really like the action card system and the possibility of not getting to use everything you have on the table. Most rules seem simple and I think it suits scenarios. Will certainly be having another bash at it soon.


Sunday 10 November 2013

Mighty Armies 15mm Fantasy

As wargamig butterflies goes I have the attention span of a mayfly... ooh shiny!

Just over a year ago Craig bought a set of rules for 15mm fantasy called Mighty Armies by Rebel Minis, and about 4 armies :) I have and undead skeleton army by Alternative Armies from 15-20 years ago which looked like it could do service. However about a month later my interest had once agian moved on to another project.

Last week we were discussing the merits of armies that have units all on one base like Kings of War and Inpetus. This sparked my interest and I started having a look at DBM and then Hordes of Things. After sending alink for HOT to Craig to look at he reminded me of Mighty Armies and erupted in to what I can only describe as an orgy of enthusiasm!

So having a bit of a look on the web for inspiration on basing and terrain (unfortunately both extremely limited. Last week I knocked up the folding 3 foot square board for Malifaux and was myself inspired to make a similare set up for Mighty Armies. The idea of having a 2 foot square folding board and nine bases of troops to plonk down almost has the air of a portable wargame.

To get started I have begun assembly of the undead and this week I will be making the folding board.


Thursday 7 November 2013

Tuesday 5 November 2013

Ogres Re-Basing Update

Having to press on with this as the competition is looming and I need to actually put paint on the figures.


Styrofoam was 'painted' with pva to stiffen it, after drying it was then given a solid coat of matt black.

When the black dries the bits that get missed including air pockets show up so I went over them all again with a black wash.


The rocky surface was then dry brushed with dark grey (wilko flintstone emulsion).

Used fine builders sand for the base as I wanted it to be a bit like snow, The builders sharp sand I usually use would have been too coarse for that.

The sand and base edge were then painted with pearl grey emulsion (a tester pot from wilko - great for painting scenery). I applied this slightly watered down so it would not cover completely solid and give me some sandy colour showing through to dirty it up.

When I asked my wife what colour is snow, instead of the getting a silly answer she said "well, if its fresh then its white but old snow tends to get dirty brown."

Rocky area then dry brushed with the pearl grey to give it definition and help to blend the base together.

By the way this is about as sophisticated I am going to get on the snow front apart from adding a little gloss varnish here and there to represent either ice or melting.


Trying to get  frozen water effect on the front but I think it is going to need a few more layers to get the effect I need. Still quite pleased with how its coming along.


Always good when something starts to look a bit like your initial ideas.

Saturday 2 November 2013

Ogres Re-basing

Well a competition is only 2 weeks away and I have done nothing to prepare my Ogres for it as per usual. However I have a plan that included changing the basing on the ogres with a rock and snow finish. Originally the rock was going to be slate but I am too lazy to cut all the slate to fit!

So using a technique to texture styrofoam taught to me by Andy (check out his excellent painting and terrain making blog here http://napoleonicwargamingadventures.blogspot.co.uk/ ) I came up with a new plan.


With mdf bases for all the ogres cut out, I marked the 25mm thick styrofoam with half of them as I intend to split the styrofoam once textured. It is a good idea to mark the styrofaom slightly larger than you want as the texturing will remove a bit of material.


The knife blade held rather too casually in my hand is a bread knife. I have bought this specially for such job as she who must be obeyed would go ballistic if I borrowed one from the kitchen :)

The technique is to drag the blade along the cut edge of the styrofoam to roughen it up. You can also use the point to dig out some larger chunks.


Second step is to take off all the flaky bits. I do this by rubbing my thumb over the surface till it is the texture needed.


Now I have all the pieces textured it is time to split the bases to get the number I need and a more sensible 12mm height


Voila! As our french comrades say! PVA glue to be applied and then leave them for 24 hours. Once the base is securely glued to the styrofoam I will 'paint' the textured edge with PVA to help stiffen this surface in case any loose bits were tempted to fall off.